The Basics of Canvas Framing
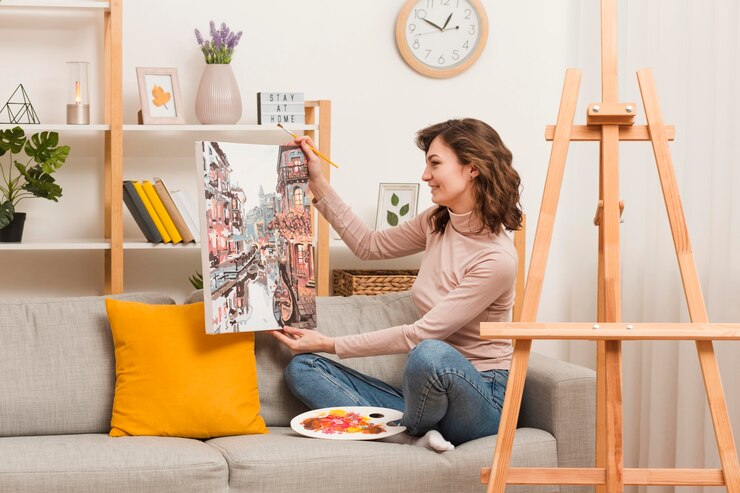
How are canvas boards framed? Framing a canvas painting or framed canvas prints might seem like a tricky task. Especially if your artwork is unique or comes in a rolled format.
Also, selecting the right frame for your canvas art is important as well. It can either lift your artwork or make it seem out of place.
In this guide, we’ll break down the canvas framing process into simple steps. To achieve that polished, professional look for your canvas art. Whether you have a stretched canvas or a rolled print.
This guide simplifies the process. Read on to learn the easy-to-follow instructions.
Why is Canvas Framing Important
- What is the use of canvas frame?
Canvas framing involves mounting your artwork onto a frame. This offers several advantages.
- It provides a long life for your artwork.
- It shields your artwork from dirt, dust, and damage.
- It gives a professional and polished appearance to your artwork.
This process involves stretching and securing the canvas onto a frame. Giving protection and an attractive display option. Affordable canvas framing near me ensures the protection of your artwork.
Canvas frames come in various styles and colours. Which allows you to match framed canvas wall art perfectly with your decor.
Types of Canvas Frames
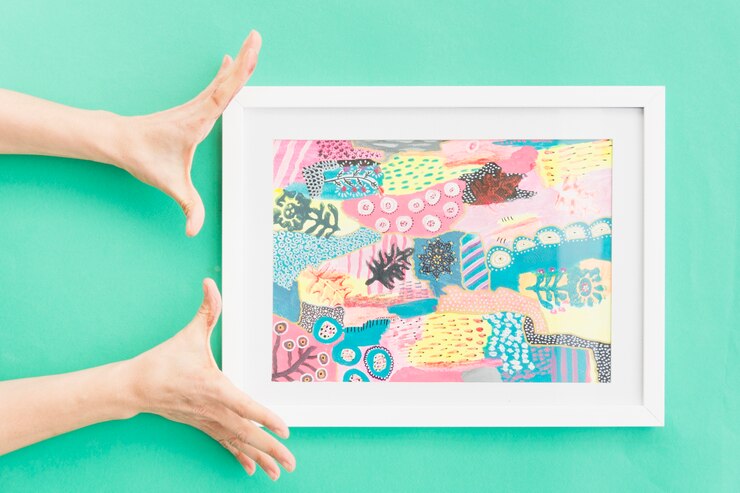
- What type of framing for canvas?
There are two main types of canvas frames.
1. Gallery-Style Frames
Gallery-style frames consist of side rails, a top rail, and a backboard.
The side rails attach to the top and bottom of the artwork. With the top rail connecting to the side rails. The backboard is then secured. Providing a classic and protective framing option.
2. Floating Canvas Frames
A floating frame for canvas is similar to a gallery-style frame but lacks a backboard.
The artwork is stretched over a spacer bar. Which creates the illusion of it “floating” inside the frame. This modern option is ideal for those seeking a contemporary look.
Choose the Right Frame: Factors to Keep in Mind
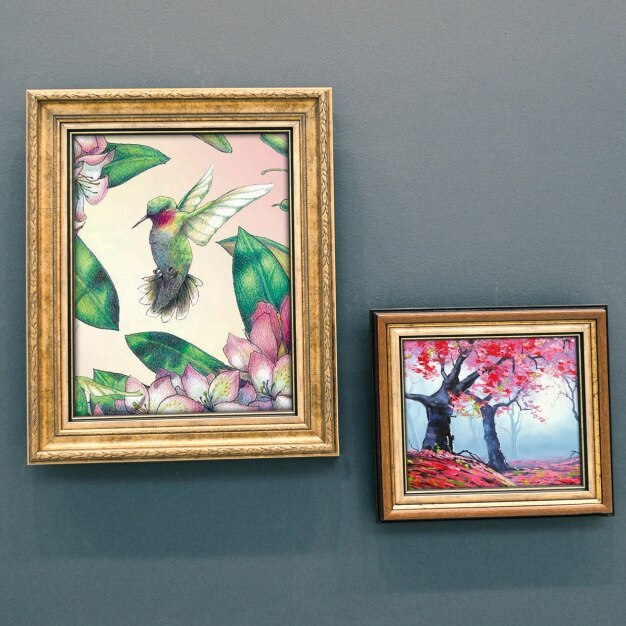
When selecting a canvas frame, consider the following factors:
- Artwork Style: Choose a frame that matches the style of your artwork. Clean lines for modern pieces and ornate frames for traditional art. Or choose a wood canvas frame to add rustic charm to your artwork.
- Frame Colour: Select a colour that matches the artwork without overshadowing it. When in doubt, black is a safe and versatile choice.
- Frame Size: Ensure the frame is proportionate to the artwork. Avoid a look that is too small or too large. When uncertain, choose a slightly larger frame. Also, a stretched canvas with a wood frame adds stability to larger canvas artworks.
How To Frame A Canvas?
If you plan to frame your artwork, keep these simple tips in mind:
- Gather the Right Tools: Prepare a measuring tape, a level, a hammer, nails, and a saw.
- Measure and Cut: Measure the artwork and cut frame pieces to size. Use a level to maintain straightness.
- Assembly: Attach side rails to the artwork’s top and bottom. Connect the top rail and add the backboard to complete the frame.
- Floater-Style Frame: For floating frame canvas. Follow the same assembly steps and stretch the artwork over the spacer bar before inserting it into the frame.
DIY Canvas Framing Tutorial
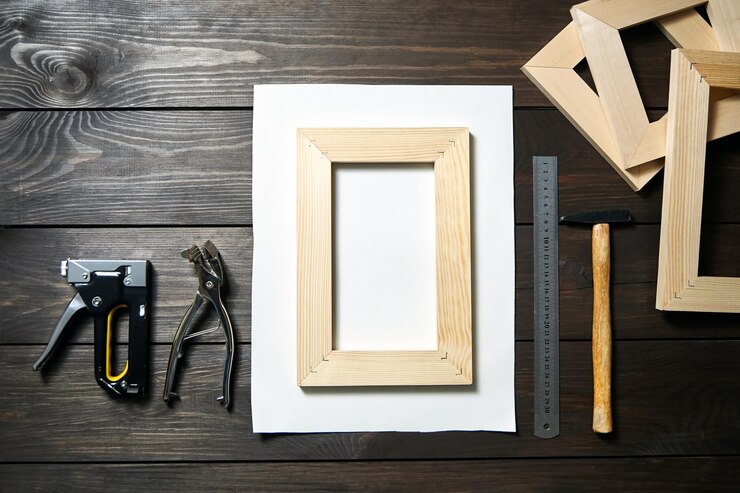
For detailed DIY canvas framing instructions. Read the following methods with step-by-step instructions.
For a Store-Bought Frame
| Materials Needed |
| Tape measure |
| Store-bought canvas frame |
| Screwless canvas clips or offset clips |
| Screwdriver |
| Flat surface |
| Pencil |
| Drill (if using offset clips) |
| Canvas Artwork |
Step 1: Measure Your Canvas
- Get a tape measure and measure your canvas.
- Measure the height, width, and thickness (depth) of the canvas.
- Write down these measurements accurately.
Step 2: Buy a Canvas Frame
- Go to a craft store or check online for a canvas frame.
- Find a frame that matches the length, width, and thickness of your canvas.
- Choose a frame that contrasts with your artwork but doesn’t distract from it.
Step 3: Choose and Attach Clips
- Decide whether you’ll use screwless canvas clips or offset clips.
- If using offset clips, measure the canvas’ frame width to pick the right size.
- Attach the clips evenly around the canvas edges.
Step 4: Place Canvas in Frame
- Lay the canvas face down on a flat surface.
- Put the frame face down with the canvas inside, decorated side down.
- Be careful not to scratch the artwork; handle it gently.
- Make sure the canvas fits tightly inside the frame.
Step 5: Attach Screwless Clips
- If using screwless clips, slide them between the frame and canvas edge.
- Pull the clip over the stretcher bar and press it down firmly.
- Space the clips evenly around the canvas.
Step 6: Screw Offset Clips (Alternative)
- If using offset clips, position them at the centre of each side.
- Mark their positions with a pencil and drill pilot holes.
- Set the clips over the holes, touching the canvas.
- Screw the clips into the frame to secure the artwork.
Step 7: Final Check
- Turn the painting over carefully.
- Ensure the frame fits snugly around the canvas.
- Adjust the canvas clips if needed.
- Make sure you like how the frame matches your artwork.
For Rolled Canvas
Step 1: Measure The Height and Width
Measure the height and width of your canvas.
Make sure there’s enough canvas to fold and staple to the stretcher bar.
If excess canvas is present. Leave at least 2 inches to fold over and stretch.
Step 2: Place Canvas Face Down on Clean Surface
Lay your canvas face down on a clean surface.
Measure the distance between corners to ensure even placement.
Step 3: Fold the Canvas
Starting on the shorter side. Fold the excess canvas over the stretcher bar.
Use canvas pliers or begin stapling in the middle of the folded canvas.
Step 4: Turn Over and Repeat
Turn the canvas 180 degrees and repeat the folding and stapling on the opposite side.
Continue until all sides are done.
Step 5: Pull the Canvas
With a staple in the middle of each side. Slightly pull the canvas and add staples on either side, evenly spaced.
Step 6: Fold the Corners
Tuck one side under the other at the corners, pulling tightly.
Cut the corner tip, fold it, and staple it to the frame.
Step 7: Place in Final Frame
Once stretched, place the canvas into its final frame.
For Stretched Canvas
Step 1: Choose the Right Frame
Select a wood, metal, or floater frame with a rabbet larger than the canvas thickness.
Step 2: Attach Canvas to Frame
For canvas wood frame. Use points at the required depth.
For metal frames. Use spring clips if the rabbet is deeper than the canvas stretcher bar.
Step 3: Adjust for Floating Effect (Optional)
If you want a floating frame canvas effect. Use screws or clips to attach the canvas. Leave a small gap between the canvas and the frame.
Tips for Framing Your Canvas Artwork
When framing canvas artwork, remember these essential points:
- Ensure the canvas is stretched tight and trimmed before framing.
- Measure carefully for a neat fit. Especially with stretched canvas.
- For canvas boards. Add a protective barrier between the artwork and the frame.
- If you used acrylic paint. Use UV-resistant glass or plexiglass to prevent fading.
With these considerations. You’ll create beautiful, framed canvas art. That will beautify and protect your artwork for years to come.
Bonus YouTube Tutorials
Here are some helpful YouTube video links that provide step-by-step tutorials on framing canvas. Feel free to click on the links.
- How to Frame a Canvas Panel
- Canvas Stretching Lesson
- Cheap Way To Frame Canvas Artworks
Final Words
Now you know the basics of canvas framing. It’s time to choose the perfect frame for your canvas artwork. Follow these guidelines. And your framed canvas will tell your aesthetic sensibilities.
Your Memories Deserve the “Framous” Touch
📞 Call now or visit our website to schedule a consultation. Explore the possibilities of custom framing at its finest.
- Posted In:
- Informative



Leave a Reply