

How to Frame an Existing Mirror? Complete Guide
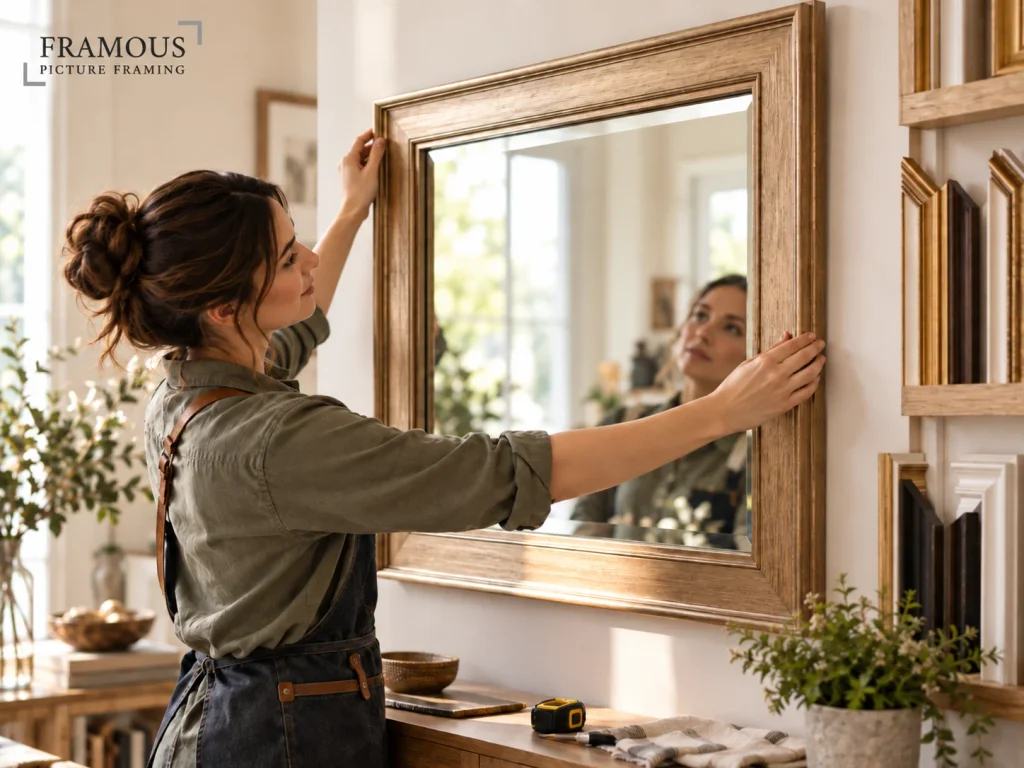
Got a plain, frameless mirror hanging over your bathroom vanity or in the hallway? You don’t need to rip it off the wall to give it a facelift.
Framing an existing mirror in place is one of the fastest, safest, and most affordable ways to turn a builder-grade mirror into a genuine feature piece, and in most cases, you can do it yourself with the right tools and a bit of patience.
Here’s a full, practical walkthrough of how to frame an existing mirror, plus everything else you need to know before you start.
Why Frame an Existing Mirror Instead of Replacing It?
Removing a mirror that’s glued directly to tiles or plaster is messy, risky, and often unnecessary. You risk damaged surfaces, broken glass, and unexpected wall repairs, all to end up with a mirror that’s roughly the same size and shape as the one you started with. Framing an existing mirror skips all of that.
The cost difference alone makes it worth considering. Overlay framing (adding a frame around a mirror that’s already mounted) runs $150–$500 depending on size and moulding style, while a full replacement framed mirror can cost $280–$850 or more once you factor in new glass, removal, and reinstallation.
There’s an aesthetic upside too. A well-chosen frame draws the eye away from a raw mirror edge, minor de-silvering, or dated metal mirror clips. It can hide a lot of small imperfections that would otherwise mean swapping the whole mirror out.
How You Can Frame an Existing Mirror: Step-by-Step Mirror Framing Guide
Once you’ve confirmed your mirror is a good fit for overlay framing, the process breaks down into five stages.
1. Measure Everything Carefully
Measure your mirror’s height and width, then record the clearance on all four sides. Note the position of taps, power points, light switches, and any adjacent walls or shower screens; these all affect how your frame dimensions need to sit. Always measure before you order or cut any moulding, and measure to the millimetre if you can. A small error here compounds once you get to the corners.
2. Select Your Frame Material and Style
You’ve got plenty of options: wood trim or moulding (including timber boards) paired with a mirror-safe adhesive is a versatile, beginner-friendly approach that suits most installations. MDF is a strong, affordable, wood-based option, while sealed hardwood, metal, and composite mouldings hold up better in high-humidity bathrooms.
If you’re working in a bathroom, seal all exposed surfaces of any wood moulding before installation; untreated timber will warp or swell over time from steam and moisture.
3. Prepare the Mirror Surface
Clean the mirror thoroughly so the adhesive bonds properly; any dust, soap residue, or grime will weaken the bond over time. Remove or recess any protruding mirror clips or brackets so your frame can sit flush against the glass. If your mirror is held in place by a channel system rather than clips, you’ll need to work the frame around it rather than removing it.
4. Cut, Dry-Fit, and Finish Your Pieces
Cut your moulding at 45-degree angles so the corners interlock cleanly with no visible gaps; this is where a workshop-grade mitre saw makes a noticeable difference over a basic hand mitre box, especially on wider profiles. Before gluing anything, dry-fit all four pieces around the mirror to check your corner gaps and overall alignment. It’s much easier to trim a piece now than to pry apart a glued joint later.
Apply any paint or sealant finish to your frame pieces before installation, not after: finishing on the bench avoids drips, overspray, and mess on your bathroom walls.
5. Install the Frame
Apply adhesive in vertical beads rather than a solid layer; this allows air movement behind the frame and reduces trapped moisture, which matters a lot in bathrooms. Use painter’s tape to hold each piece in position while the adhesive cures, typically overnight. Superglue can be used at the corners or in specific spots for extra hold, but it shouldn’t replace your main adhesive.
The result, done properly, is a seamless framed mirror with no glass removal required; most DIY mirror frame kits can be installed in under 30 minutes once everything lines up, and these mirror frames come in over 50 styles, though a fully custom mitred frame will take longer.
Is Your Mirror a Good Candidate for Framing?
Before you buy any materials, do a quick condition check.
Good candidates:
- Minor edge blackening or a small scratch near the perimeter
- Protruding or dated mirror clips, especially if you want to refresh an existing bathroom mirror with a frame
- De-silvering (those black or white patches) limited to the outer edge, where a frame will actually cover it
Not good candidates:
- Large cracks running through the glass; this needs replacing, not framing
- Extensive de-silvering across the centre of the mirror, which no frame width will hide
It’s also worth measuring the clearance between the mirror’s edge and any adjacent wall, backsplash, counter, or power point. Tight gaps aren’t a dealbreaker, but they will influence which frame profile width you can use, and in many cases they’re still workable if you choose the right profile.
Choosing the Right Frame Style for Your Space
The frame styles you pick should work with the room’s decor, not fight against it.
Classic bathrooms:
Warm timber or soft painted profiles in whites or creams soften the harsh lines of a large frameless mirror. A wider frame (75–100 mm) adds dimension without overwhelming the space and can help create the perfect mirror for the room.
Contemporary spaces:
Slim matte black, white, or brushed metallic frames echo modern tapware and cabinetry. A narrower profile (25–40 mm) keeps the lines clean, particularly on a square or rectangular mirror, and coordinating with other mirrors nearby can make the room feel more cohesive.
Heritage or character homes:
Ornate or detailed frames that echo period skirting, cornices, or original picture rails help tie the bathroom back into the rest of the house. These frames can be painted to match existing décor or stained to complement original woodwork.
Framing an Existing Mirror vs. a New Custom Framed Mirror
If your mirror is cracked, badly de-silvered across the middle, or the wrong size for a redesigned space, framing in place won’t be enough; you may need a new mirror or one of several framed mirrors made to replace it. Use this quick comparison to decide whether to upgrade the current mirror or order a replacement:
| Comparison | Frame Existing Mirror | New Custom Framed Mirror |
| Best for | Mirrors glued to tiles, large builder-grade mirrors, mirrors that already fit the space | New builds, full bathroom redesigns, damaged or undersized mirrors |
| Glass | Existing glass stays on the wall | New glass cut to size as a complete mirror product, with bevelled mirrors or a plain edge available |
| Flexibility | Frame style, width, colour | Frame style plus a custom-made mirror in your preferred size, shape, edge finish, and available frame options |
| Cost | Lower: no glass purchase or removal | Higher: includes glass, frame, and installation |
| Timeline | Around one week | Two to three weeks depending on complexity, with the finished product ready to install or hang |
When to Call in a Professional
DIY overlay framing works well for straightforward rectangular mirrors with generous wall clearance. But there are situations where professional framing is worth it when you want a more functional result as well as a better finish:
- Tight or unusual mirror-to-wall gaps where a standard profile won’t fit
- Mitred corners that need to be genuinely tight and gap-free; this is the detail that separates a DIY job from a professional one
- Matching colours and finishes across wall paint, tiles, vanity finishes, and tapware, so the frame also ties into the room’s decor, which is easier to get right with an experienced eye
- Mirrors with clips, hardware, or channel systems that need careful workarounds
Frame Your Existing Mirror with Framous Picture Framing
At Framous Picture Framing, we offer framing consultations to help spot potential problems before they become expensive mistakes and create a cleaner custom result from your ideas. Our experienced eye can help you choose a frame that suits your space and achieve a better finish.
Frequently Asked Questions
Will the frame cover the raw mirror edge?
Yes. A properly fitted frame overlaps the edge by 10–15 mm on each side, concealing raw edges, minor chips, and uneven silicone lines, and creating the illusion of a finished edge.
What about existing mirror clips or brackets?
Remove or recess them so the frame sits flush. If a channel system is holding the mirror, plan your frame to work around it rather than removing the channel.
How close can a frame sit to a side wall or backsplash?
A frame can sit within a few millimetres of an adjacent surface without looking cramped, provided your measurements are accurate, and you choose a slim enough profile.
How long does the whole process take?
For overlay framing: a design or planning stage, a few days to source and cut materials, and a half-day installation, with adhesive curing overnight. Smaller mirrors are easier to handle and install than larger ones, so most projects wrap up within a week. A brand-new custom framed mirror takes longer, typically two to three weeks, due to glass sourcing, though some replacement mirrors may arrive ready to hang if ordered as a complete unit.
What does it cost?
Standard single-vanity overlay framing falls between $150 and $500, with larger or more ornate frames at the higher end.

Leave a Reply