Custom Framing Cost: How Much It Costs to Custom Frame a Picture in Perth

Wondering why a normal frame can be under $50 while a bespoke job costs much more? Custom framing cost in Perth ranges from $100–$500. Small prints and photos usually fall between $190–$230, while larger or more complex pieces can exceed $500.
That’s because a custom frame isn’t just a decorative border; it’s a carefully designed system that fits, protects, and showcases your artwork or memorabilia for decades. The size of your item plays a major role in the price, but there are several other factors that can influence the final cost.
So, what exactly drives up the cost of custom framing?
This blog explains the real drivers of custom picture framing cost, shows price ranges, and gives practical tips to get the look, protection, and quality you want, without paying for features you don’t need.
So, let’s explore why investing in custom framing is worth every cent.
Factors That Affect Custom Framing Costs
Knowing what factors go into a custom frame helps explain price differences and lets you find the perfect balance between presentation, protection, and budget.
➔ Artwork Size & Complexity
Size is one of the single biggest cost drivers.
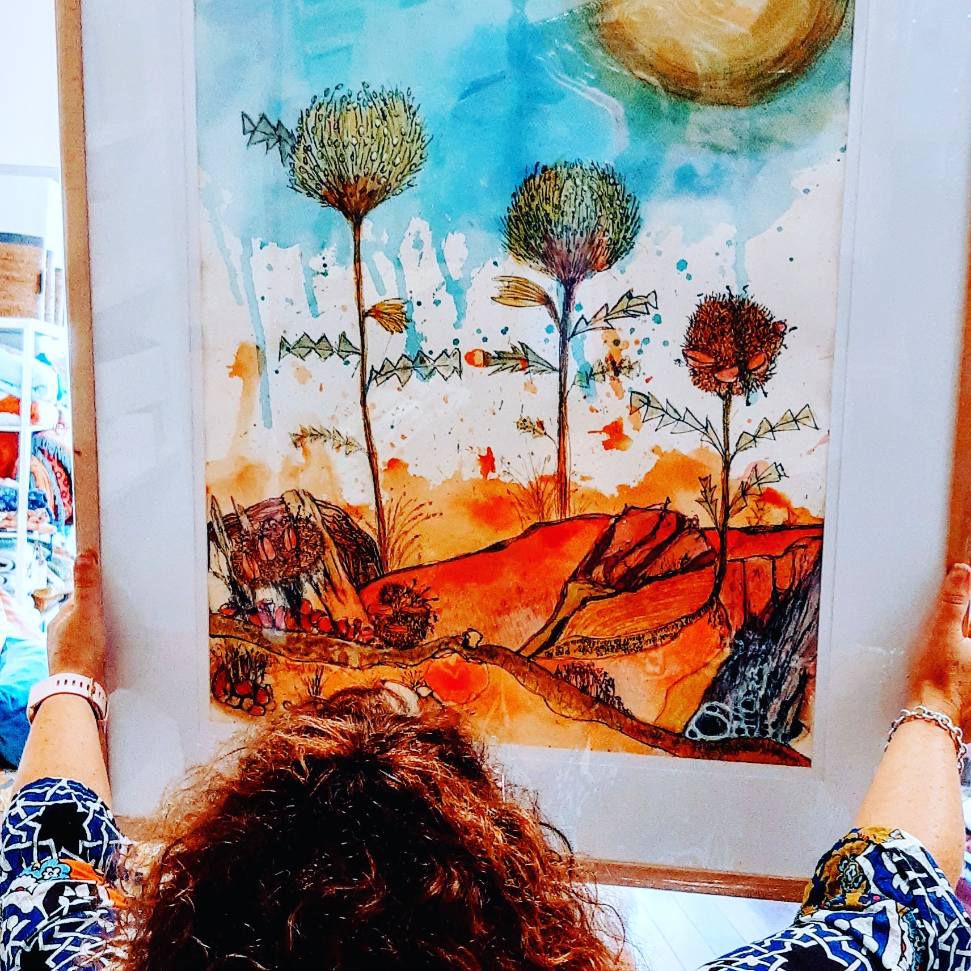
Larger pieces need more moulding, wider mats and larger sheets of glazing. They add handling and shipping complexity. Plus, they sometimes require special hanging hardware.
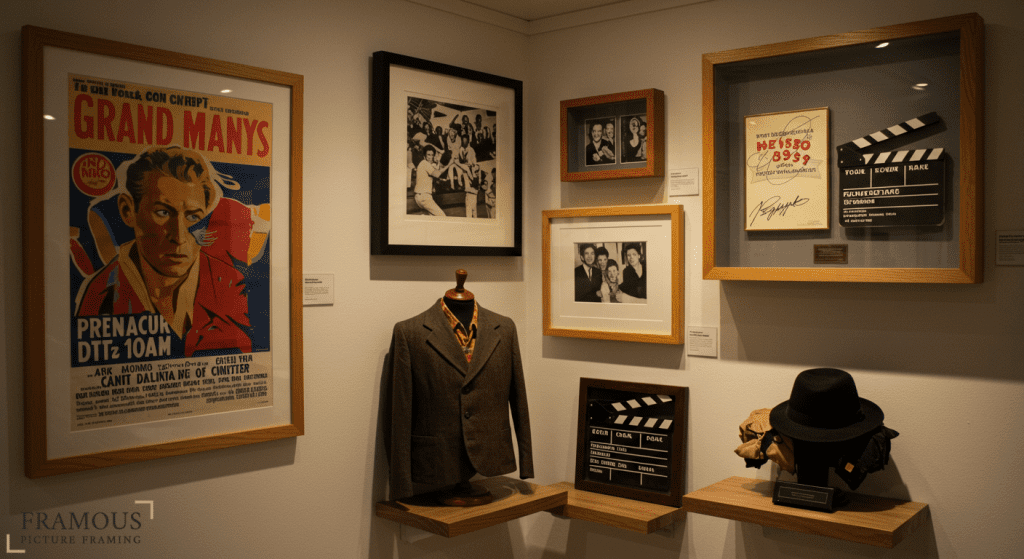
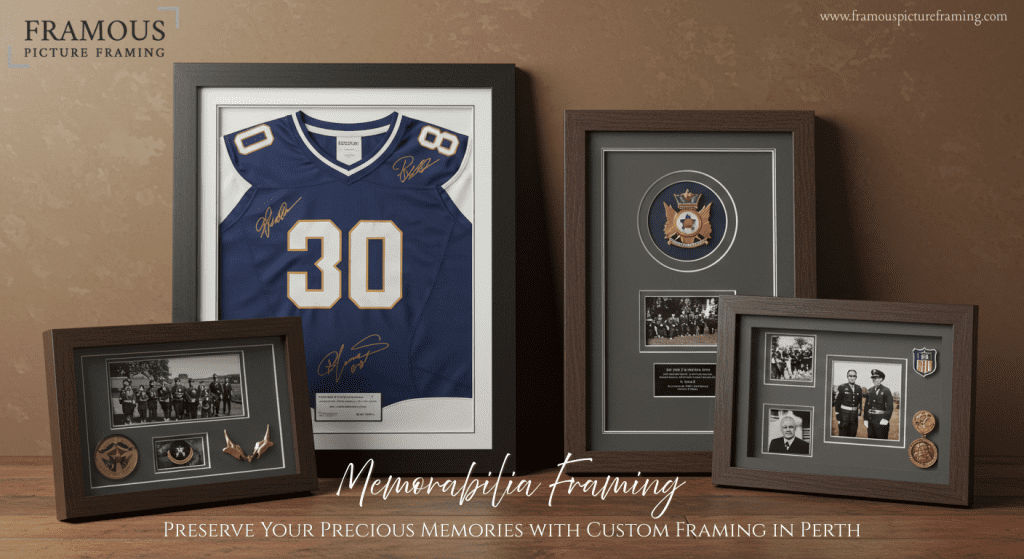
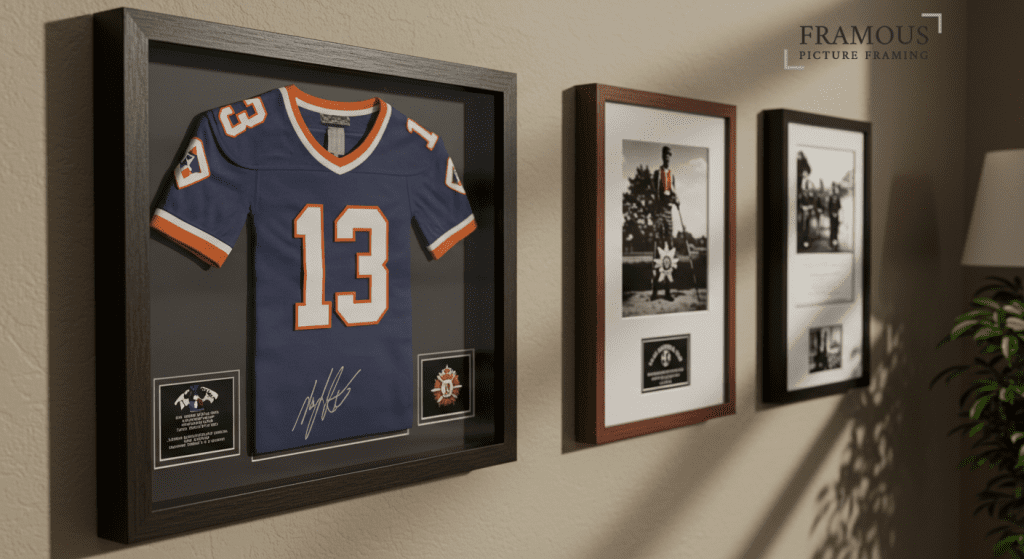
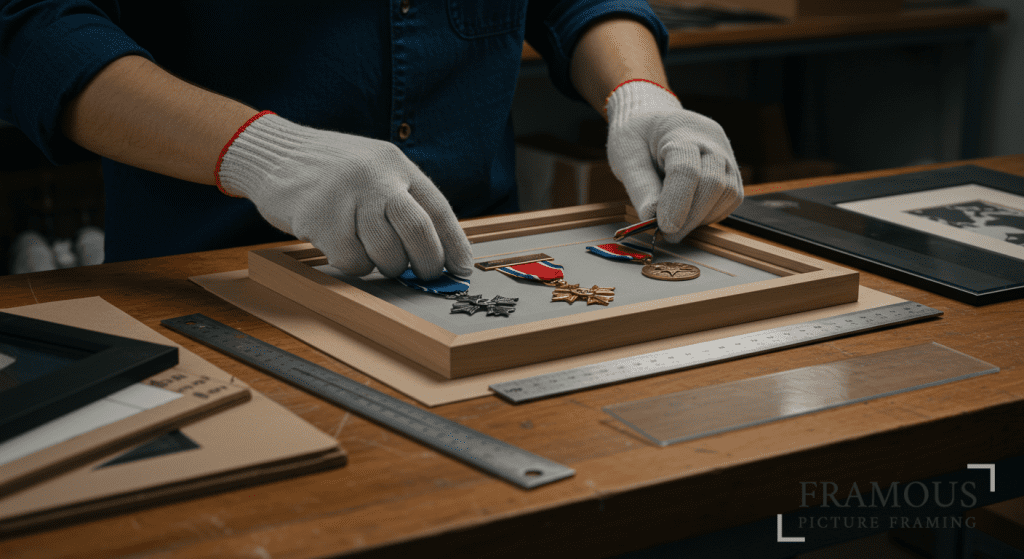
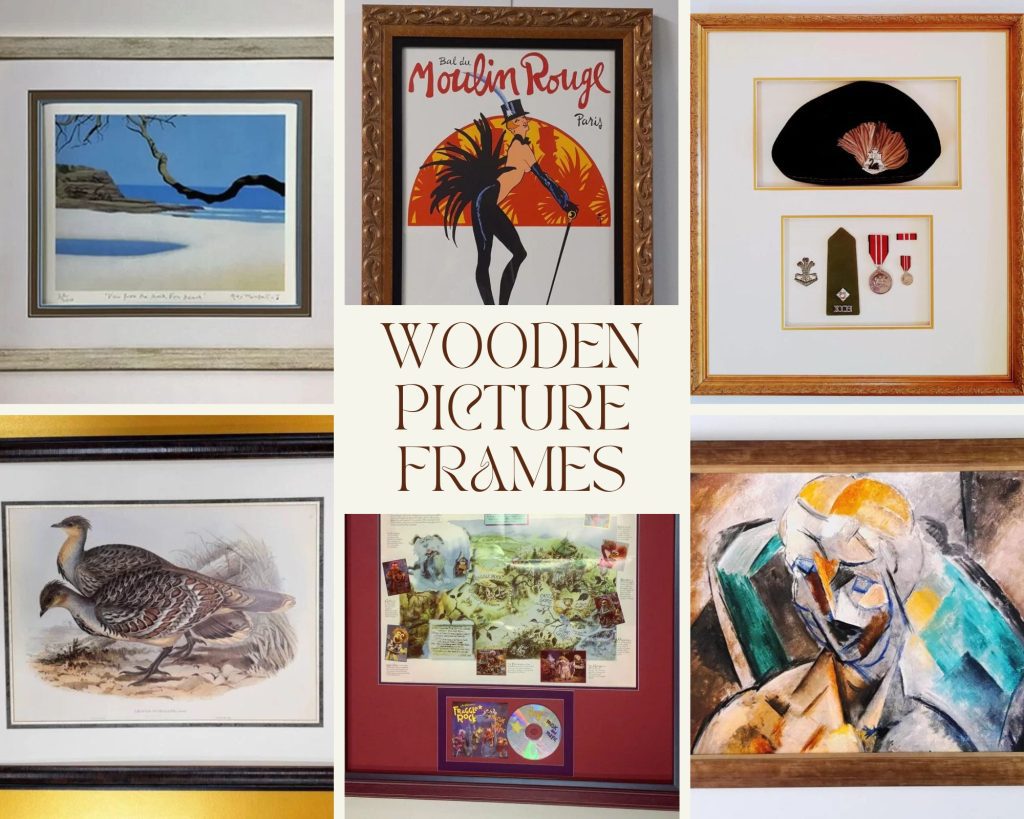
Three-dimensional or irregular items like jerseys, medals, hats, shadow-boxes and heavily textured canvases need custom mounts and extra depth in the frame, which increases both materials and skilled labour time.
Local Perth framers commonly publish size-based price guides for standard formats (A4 → A0) because it’s a quick way to estimate job cost.
➔ Frame Style & Material
The type of moulding you choose is a major line item. Mass-produced, off-the-shelf frames use low-cost materials that can warp or degrade. Custom framing gives you a wide range of materials like;
- solid timbers
- engineered timbers
- aluminium
- sustainable options like bamboo, reclaimed timber
Premium timbers, metal profiles, or ornate decorative mouldings are more expensive but they also define the look and longevity of the finished piece. Because custom mouldings are measured, cut and finished to order, the frame style and material selection usually accounts for a significant portion of the total price.
➔ Glazing & Protection Options
Glazing is one of the most value-dense upgrades in framing and one of the most frequent reasons prices vary.
Basic clear glass or standard acrylic is cheapest, but it offers limited protection against UV fading and reflection.
Premium options like UV-blocking glass, conservation glass and anti-reflective “museum” glass, offer dramatically better light transmission and protection. Some museum-grade glazings block up to 99% of harmful UV and reduce glare while preserving true colour.
For valuable artwork or pieces that will hang in bright rooms, glazing choice can be worth the extra cost because it extends the life and appearance of the piece. For larger works, framers recommend acrylic alternatives for safety and lower weight, but premium acrylics can cost as much as specialty glass.
Read more > Modern Memorabilia Framing Perth: Preserve Your Memories for Years
➔ Mats & Borders
Mats do more than improve aesthetics. They provide a physical barrier so glazing never touches the artwork, which prevents moisture transfer, scuffing and adhesion problems over time.
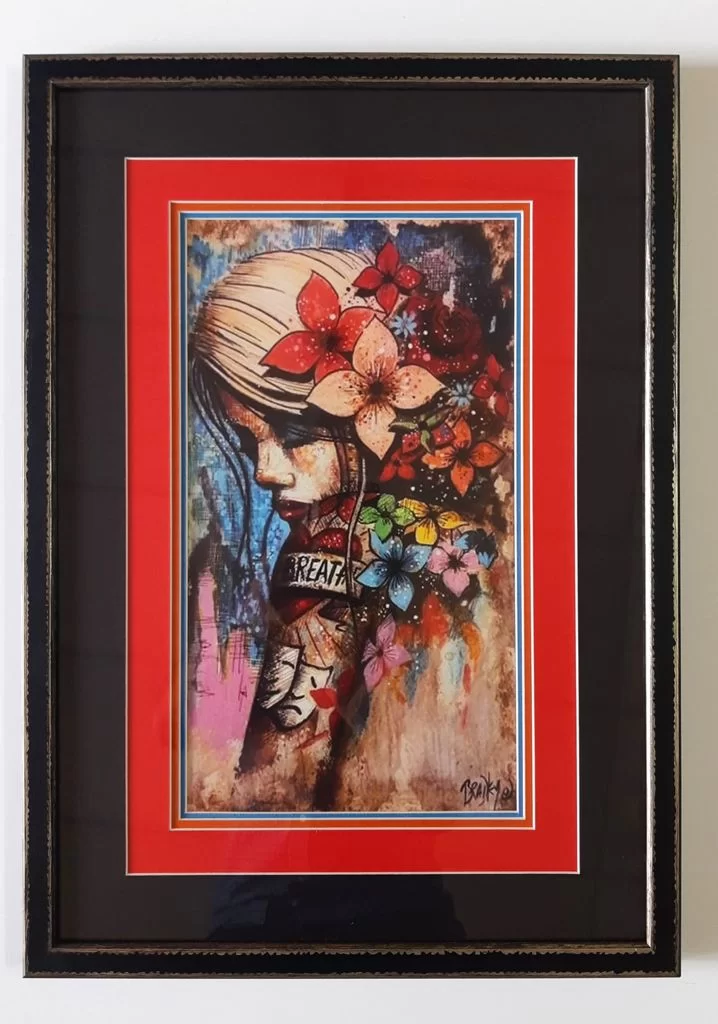
Custom-cut, acid-free (archival) mat boards cost more than standard paperboard, and layered or bevelled mattes, multiple windows, or unusual colours and textures add both materials and labour.
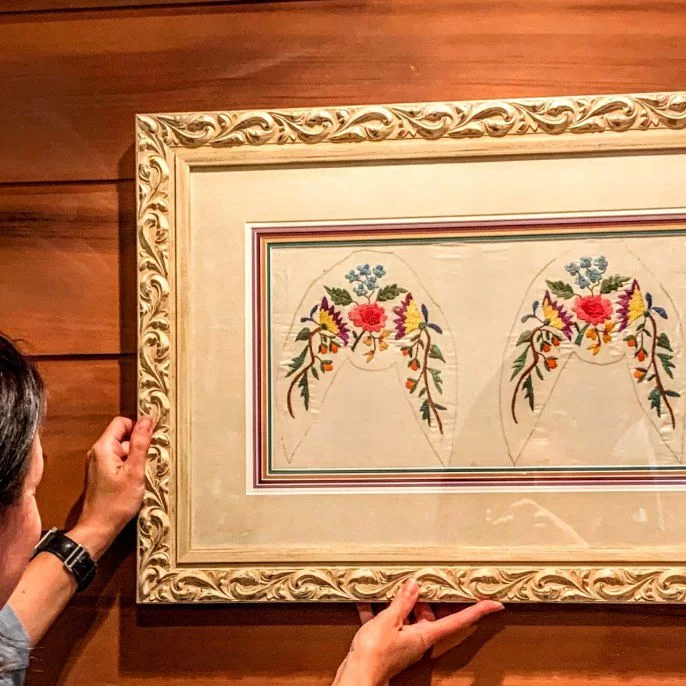
For textiles or delicate works, spacers and sealed backing are sometimes used instead of, or in addition to, mats. These protective details increase cost but are essential for long-term preservation.
➔ Skilled Labour & Qualifications
Labour is not simply “time”; it’s trained skill. Picture framing at a professional level requires precise measuring, clean joins, correct mounting and conservation-aware techniques.
In Australia, the nationally recognised qualification for picture framers is Certificate III in Picture Framing (MSF30518). Framers with this training command higher rates because they deliver consistent, conservation-minded results.
When you pay for custom framing, part of what you’re buying is that expertise; safe handling of fragile pieces, accurate mat cutting, secure mounting, and a finish that won’t come apart after a few years.
➔ Craftsmanship, Machinery & Turnaround
High-quality framing combines hand skill with precision machinery. Framing shops that invest in digital cutters, precision guillotines, v-nailers and CNC-assisted joiners can deliver cleaner corners and more consistent mat openings, which reduces waste and rework. Those capital costs are reflected in pricing.
Some Perth framers offer same-day or fast turnaround options by using in-house equipment and stocked mouldings.
Faster turnaround can carry a premium, while longer lead times may lower the cost. If a framer provides on-site fabrication (rather than outsourcing), you’re paying for the convenience and quality control that comes with in-house production.
Read more > How Long it Takes to Make Custom Frame
Why framing conservation choices add to price but save money long term:
Decisions such as using acid-free mats, sealed backing, UV-blocking glazing and proper mounting add to the upfront cost, but they reduce the need for future restoration and preserve colour and structure (especially in sunlight or humid Perth environments). For heirlooms, textiles and original artworks, these conservation investments prove cheaper than replacing or restoring a faded or damaged piece later.
Explore more details > Why Is a Custom Picture Frame Better Than a Normal Frame?
Custom Framing Price in Perth: Typical Costs Ranges
Here’s a realistic guide based on local pricing. Prices vary depending on frame size, style, mat board choice, glazing type (acrylic vs glass vs conservation glass), mounting method, and turnaround time. Use these ranges as a planning guide when budgeting your custom framing project in Perth.
| Project Type | Price Range | Notes / Why the Price Varies |
| Small print or photo(standard timber moulding + clear glass) | $190–$230 | Standard sizes and simple frames are cheaper; conservation mats or boutique mouldings cost more. |
| Large artwork(premium moulding + UV / conservation glazing) | $700–$900+ | Larger pieces need more materials and stronger support; protective glazing adds cost. |
| Sports jersey or memorabilia(shadow box + acid-free mounts + spacers + glazing) | $400–$800+ | Depth, mounts, mats, and glazing affect price; archival materials increase cost. |
Smart Tips to Save on Custom Framing Without Losing Quality
Looking for ways to keep your framing budget under control? Here are practical, expert-backed tips that help you get a beautiful result without paying more than you need to:
➔ Choose Standard Sizes Whenever Possible
A4, A3, A2 and 12×16” frames cost less because they use less material and reduce cutting waste. Custom sizing increases labour and moulding cost.
➔ Pick Simpler, Modern Mouldings
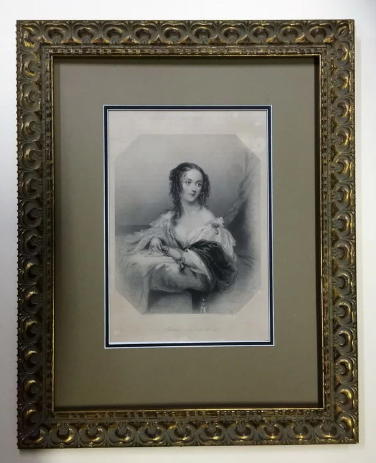
Clean, minimal timber or aluminium profiles are not only affordable but also timeless. Ornate or deep decorative frames usually double the price.
➔ Use Standard Clear Glass for Low-Risk Pieces
If your artwork won’t sit in direct sunlight, standard glass or acrylic is perfectly fine and far cheaper than museum-grade glazing.
➔ Limit the Number of Mat Layers
One high-quality acid-free mat looks elegant and keeps costs lower than double or triple matting.
➔ Combine Multiple Small Prints Into One Frame
Instead of framing pieces separately, a multi-opening mat layout is often more affordable.
➔ Trust Your Framer’s Recommendations
Experienced framers know where you can simplify without risking damage or compromising the final look. A quick consult can save money and stress.
➔ Keep Turnaround Flexible
If you’re not in a rush, some Perth framers offer lower prices for standard lead times. Priority jobs can cost more.
➔ Bring Artwork Clean, Flattened and Ready
Extra preparation like cleaning, pressing, re-mounting adds to labour time. Delivering your item in good condition can reduce cost.
➔ Don’t Over-Specify for Low-Value Prints
Save museum-grade glazing for heirlooms, original artworks or valuable prints. Everyday posters and décor don’t need the highest preservation level.
Worried a cheap frame will damage your artwork, or cost you more to fix later?
Protect Your Artwork with Expert Custom Framing in Perth | Get Honest Pricing & Lasting Results
At Framous Picture Framing (serving Midland & greater Perth since 1985) we not only make frames; we build museum-quality systems that protect, present and preserve your photos, prints, canvases and memorabilia.
Whether you want archival framing for a treasured painting, a shadow box for a sports jersey, or a stylish everyday frame that looks great on your wall, our award-winning team gives clear advice, transparent custom framing cost estimates, and workmanship that lasts decades.
So, don’t wait any longer!
Get Your Free Custom Framing Quote Now
FAQs About Custom Framing Cost & Services
- How much does custom framing cost in Perth?
Custom framing prices range from about $190–$230 for small prints to $700–$900+ for large, conservation-grade jobs; shadow-box memorabilia often sits around $400–$800+. Final cost depends on size, moulding, glazing and mounting choices.
- How long does custom framing take?
Standard turnaround is usually 7–14 business days for most jobs; conservation or complex restorations can take longer. Ask for a priority fast-track if you need it sooner.
- Do you offer conservation framing and museum-grade glazing?
Yes, we provide acid-free mats, sealed backing, and UV-protective or museum-grade glass/acrylic for long-term preservation, ideal for originals, photos and textiles exposed to light.
- How can I lower the custom framing cost without losing quality?
Choose standard frame sizes, simpler mouldings, a single quality mat and standard clear glazing for non-heirloom pieces. Consult your framer to avoid over-specifying conservation products for low-value prints.


