Oil Painting For Beginners: A 6-Step Tutorial
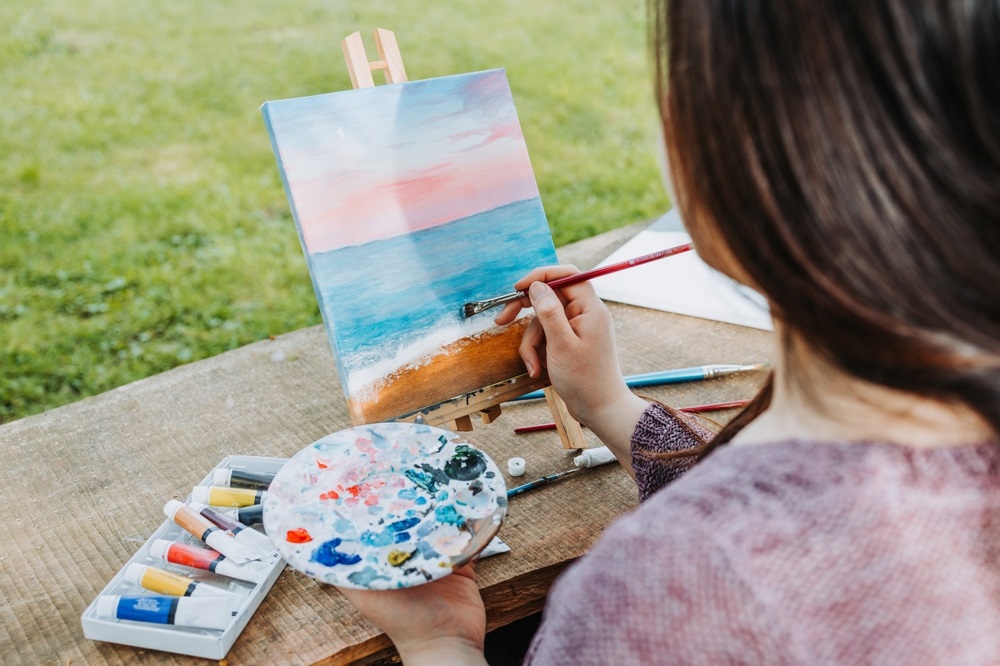
Are you ready to learn oil painting on canvas?
Read on as we guide you through the essential steps to create stunning oil paintings and oil painting frames.
Whether you’re a beginner or a seasoned painter, these 6 steps will help you master the art of oil painting.
You will also learn about oil painting frames which come in various styles and materials to complement your artwork. A framed oil painting is a complete work of art ready to adorn your walls.
Oil Painting For Beginners: 6-Step Tutorial
To get started with oil painting for beginners, you’ll need essential supplies like brushes, oil paints, and canvas.
Step 1: Pick the Perfect Picture/Subject
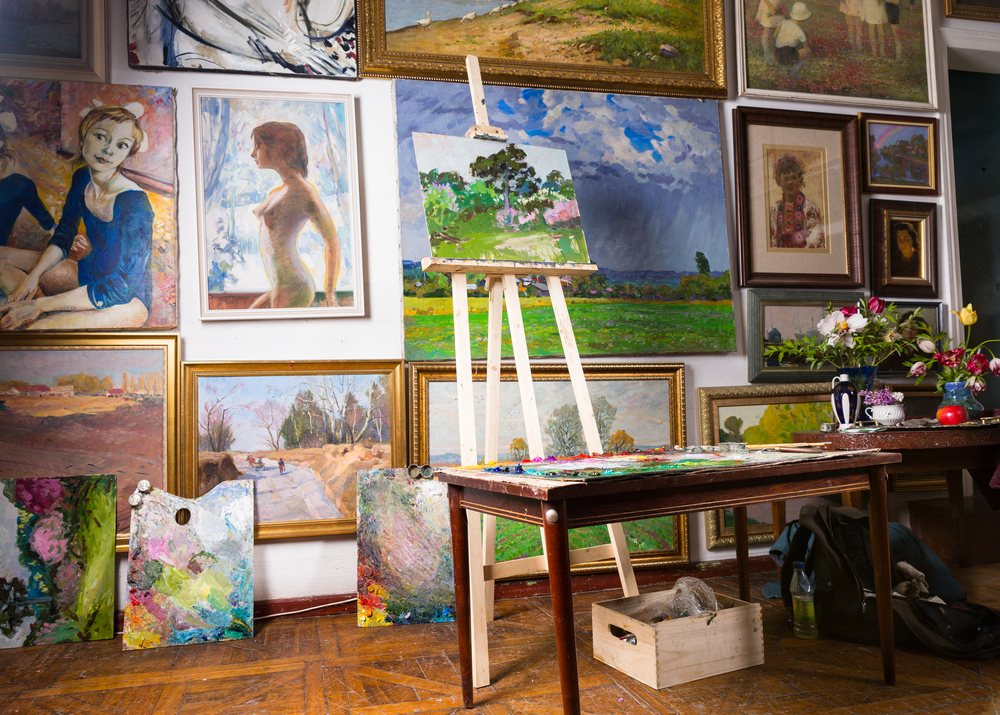
Choose the right image as a subject and use it as your guide.
Start your oil painting by choosing the perfect subject.
If you’re just beginning, opt for simple subjects like still life. They’re like the training wheels for your artistic journey.
As you gain confidence, you can venture into more complex themes like portraits and landscapes.
To make your life easier, use a photograph as a reference.
This allows you to oil paint without constantly checking the clock. And if drawing isn’t your strong suit, you can trace the image onto your canvas.
It’s a nifty trick to ensure your proportions are on point.
Step 2: Create Your Composition

Design your painting by finding the right angles and elements.
Your next task is to compose your painting.
This is where you bring your creative vision to life.
Look for a thread that ties together the elements in your scene – lines, shapes, colours, and light. Trust your instincts; they’re your best friends in this artistic endeavour.
Don’t be afraid to experiment with unusual angles. They can add an exciting dimension to your artwork. Observe your subject closely, focusing on details or taking in the entire scene.
You can even use a cardboard window or frame with your hands to frame the composition. If you’re working from a photo, play around with strips of paper to reframe it.
Before you dive into your masterpiece, do some practice on paper. Create multiple studies, adjusting the framing and the interplay of shadows and light. Use different techniques to capture the changing light and atmosphere in the case of oil painting landscapes.
It’s like warming up before a big game.
Step 3: Sketch Your Drawing

Make a preliminary drawing to guide your painting.
Now, let’s get down to business with a preliminary drawing.
Think of this as a roadmap for your painting.
Not an exhaustive masterpiece in itself. While it’s not mandatory, it can be immensely helpful.
You have options for this step.
- Use charcoal for a clean base (don’t forget to spray on some fixative).
- Alternatively, sketch very lightly with a pencil, ensuring it won’t show through the oil based paint.
- If you prefer, you can even use oil paint or acrylics in a neutral, diluted colour.
Feeling a bit shaky with your drawing skills?
No worries!
If you’re working from a photo, employ the grid technique or tracing paper to sketch the major lines of your subject.
Keep it simple and focus on capturing the basic elements. You don’t need to replicate every tiny detail at this stage.
Here’s A Pro Tip: Squint your eyes when observing your subject. This blurs the unnecessary details and simplifies the forms, making it easier to capture the essence.
Step 4: Lay the Base Coat
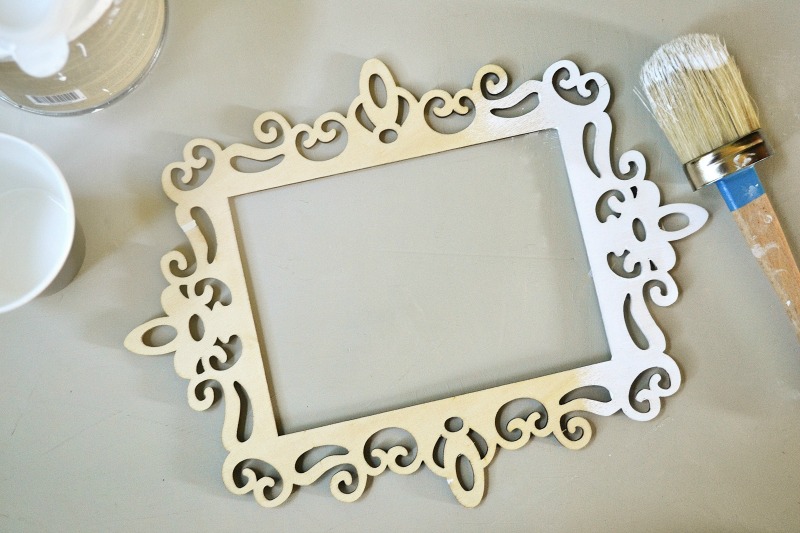
Apply the first layer of oil paint for a strong foundation.
Now, it’s time to lay the foundation.
Your oil based paint needs a good base to adhere well and dry without cracking.
The big question here is: white or coloured background?
- If you want to brighten your shades and create a vibrant painting, go for a white background.
- On the other hand, a coloured background can give your artwork a unified tone.
Choose the colour based on the overall tone you want for your painting – whether it’s warm, cool, light, or dark.
When applying the background, use well-diluted oil paint.
Make sure it’s completely dry before moving on to the next steps.
If patience isn’t your strong suit, you can also opt for acrylic paint, which dries much faster.
Here’s a nifty trick to check if your background is dry:
- Lightly run your finger over a few spots.
- If it doesn’t pick up any oil paint, even if it feels slightly sticky, you’re good to go.
Step 5: Add Layers of Paint
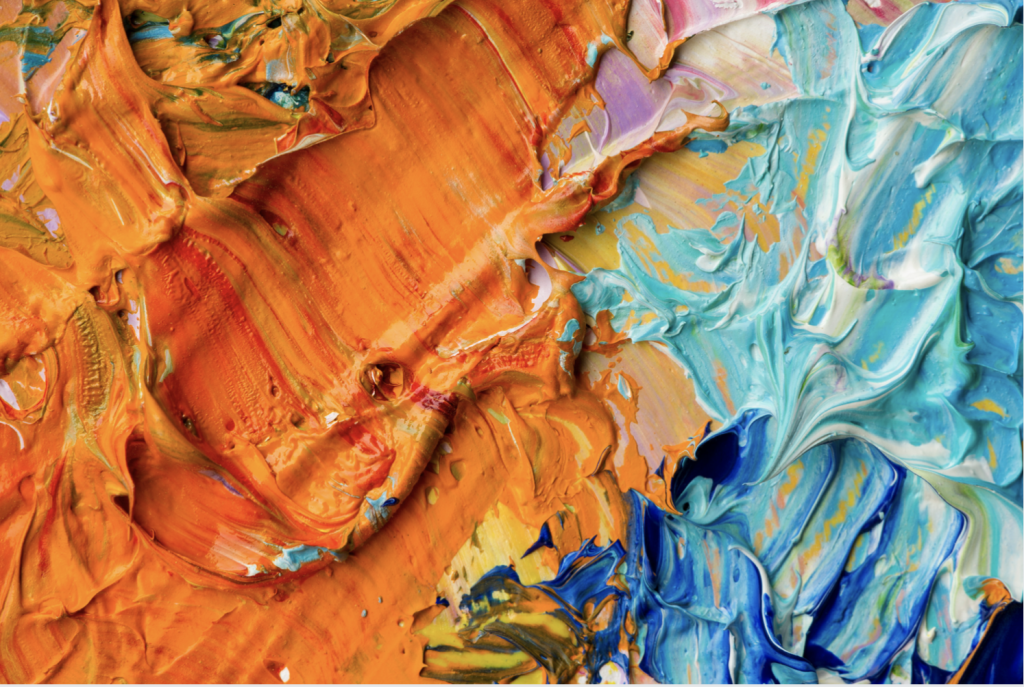
Build your painting by layering on colours and shadows.
Now comes the fun part – adding layers of colour to breathe life into your painting.
To achieve the best results, follow the golden rule of oil painting: “thick on thin.”
Each successive layer should be slightly thicker, containing more oil than the previous one.
- Start by applying areas of shadow and light.
- Fill in larger areas with colour.
- Then, patiently layer on more intense colours as you progress.
Remember to let each coat dry thoroughly before moving on to the next. This prevents your painting from flaking over time.
There’s another technique for experienced painters called “alla prima” painting.
This method is perfect for capturing spontaneity or painting outdoors. With alla prima, you finish your painting in a single session. Applying each layer of colour while the previous one is still fresh.
Step 6: Final Touches and Refinements
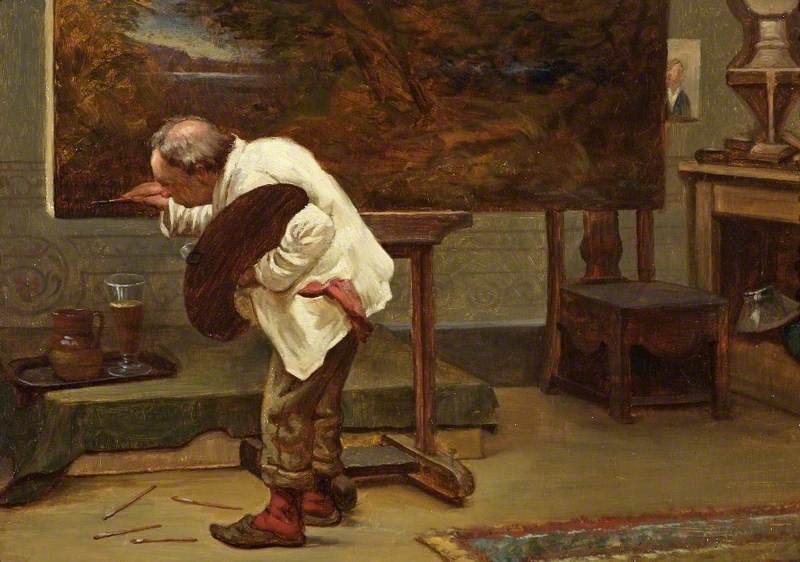
Bring your artwork to life with the finishing touches.
This is where the magic happens.
Framed canvas oil paintings are cherished for their elegance and artistic value. The final touches and refinements are where your painting truly comes to life.
Instead of slapping on oil paint, think of it as “making oil painting on canvas sing.”
It’s all about harmonizing tones and creating a polished finish.
For this stage, use undiluted oil paint straight from the tube.
Stand back frequently from your artwork to evaluate it from a distance – you’ll notice details you might have missed up close.
Take your time; there’s no rush. Fine-tune your piece gradually, adding highlights, working on shadows, and refining the smallest details. For instance, creating an oil painting portrait requires careful attention to details, such as facial features and expressions.
At this stage, any major colour change will affect the entire painting, so choose your adjustments wisely.
And finally, when you’re satisfied with your masterpiece, proudly sign your work – it’s your signature on a masterpiece. Now frame oil painting on board to preserve and protect the artwork.
Summary
| Steps | ||
| Step 1 | Choose a Subject | Pick your subject for oil painting on canvas. |
| Step 2 | Create Your Picture | Make your art by finding a common theme and angles. |
| Step 3 | Draw a Sketch | Make a simple drawing to guide your oil painting. |
| Step 4 | Add the Background | Paint a base layer, either white or coloured. |
| Step 5 | Paint in Layers | Add oil based paint colours layer by layer. |
| Step 6 | Final Touches | Finish your painting, fix tones, and tiny details. |
How To Frame A Canvas Oil Painting Like A Pro
A framed oil painting is a focal point in any room. Frames for oil paintings serve both aesthetic and protective purposes.
Want to know how to frame a canvas oil painting like a pro?
Here’s why it’s essential to do it professionally.
- Protection: Professional framing shields your oil painting from dust, dirt, and potential damage.
- Enhanced Presentation: It elevates the visual appeal of your artwork, making it stand out.
- Preservation: Proper framing helps preserve your painting’s beauty for years to come.
- Increased Value: An oil painting in frame is more valuable if you ever decide to sell it.
Quality and durability are essential factors when determining the best frames for oil paintings to ensure long-lasting beauty.
Framing Ideas For Oil Paintings
Following are some best frames for oil paintings!
- Classic Frames: Wooden oil painting frames are a popular choice for their classic and timeless appeal. Opt for a wooden frame with a clean finish.
- Gallery-Style Floater Frames: These oil painting frames create the illusion that your artwork is floating inside. They’re modern and eye-catching.
- Ornate Antique Frames: Give your oil painting a touch of vintage charm with an ornate, gilded frame. Antique frames for oil paintings can add a touch of nostalgia to your collection.
- Minimalist Frames: Choose a simple, slim frame to let your artwork shine without distractions.
- Colour Pop Frames: Select a frame colour that complements or contrasts with your painting for a striking effect.
- Custom Frames: Go for a personalized touch with custom-made oil painting frames tailored to your artwork’s size and style.
- Shadow Box Frames: Ideal for textured paintings, these frames provide space between the artwork and the glass, creating depth.
- Floating Frames with Gaps: A floating frame oil painting adds a modern touch to traditional art. Try frames with gaps between the frame and the artwork for a unique and modern look.
- Reclaimed Wood Frames: Embrace the rustic feel with frames made from reclaimed wood, adding character to your art.
- Mixed-Media Frames: Combine different materials like metal and wood for a truly unique framing solution.
Frame it with Framous!
Congratulations!
You’ve just completed a tutorial on oil painting for beginners in 6 easy-to-follow steps. So, pick up your brushes and let your artistic journey begin!
Choose Framous Pictures for professional framing today!
“Don’t miss out on the best frames for oil paintings!” Get your artwork framed to preserve its beauty. Our website features a variety of frames suitable for ‘oil paintings for sale’, from landscapes to abstract art.
- Posted In:
- Informative



Leave a Reply